Custom Action (made in Photoshop 6.01-
Mac)
Using the Panorama Tools Plug-In to Create an Equirectangular Image and later
a Cubic Panorama.
Thanks to Hans
Nyberg and Keven
Kratzke, among others, for their help, support and numbers.
And of course thanks to Helmut Dersch who gave the world these amazing tools.
The standard version of pano12.dll (or presumably, panotools.bundle) has to be replaced with a version supporting 180° FOV.
It's always wise to make backups of critical files before attempting to monkey with them in unfamiliar ways.
Download
Archive contains:
1) mf_ptools.atn
2) Panorama Tools Correct Plug-In Preset 1
(Kratzke numbers for Radial Shift
-- including chromatic abberation fix. And my Radial Luminance default.)
3)
Panorama Tools Correct Plug-In Preset 2
(Kratzke numbers for Radial Shift. And
my Radial Luminance default.)
*The action will take almost 3 times as long to complete using Preset 1, as the
color channels are corrected individually.
Please use this action with your own images an let us know how they turn out!
Please write with questions, comments, or any type of feedback, suggestions,
analysis, appraisal, or criticism.
If anyone has figured out the exact offset and size of the Sigma 8mm image
circle, please pass it along.
_____________________________________
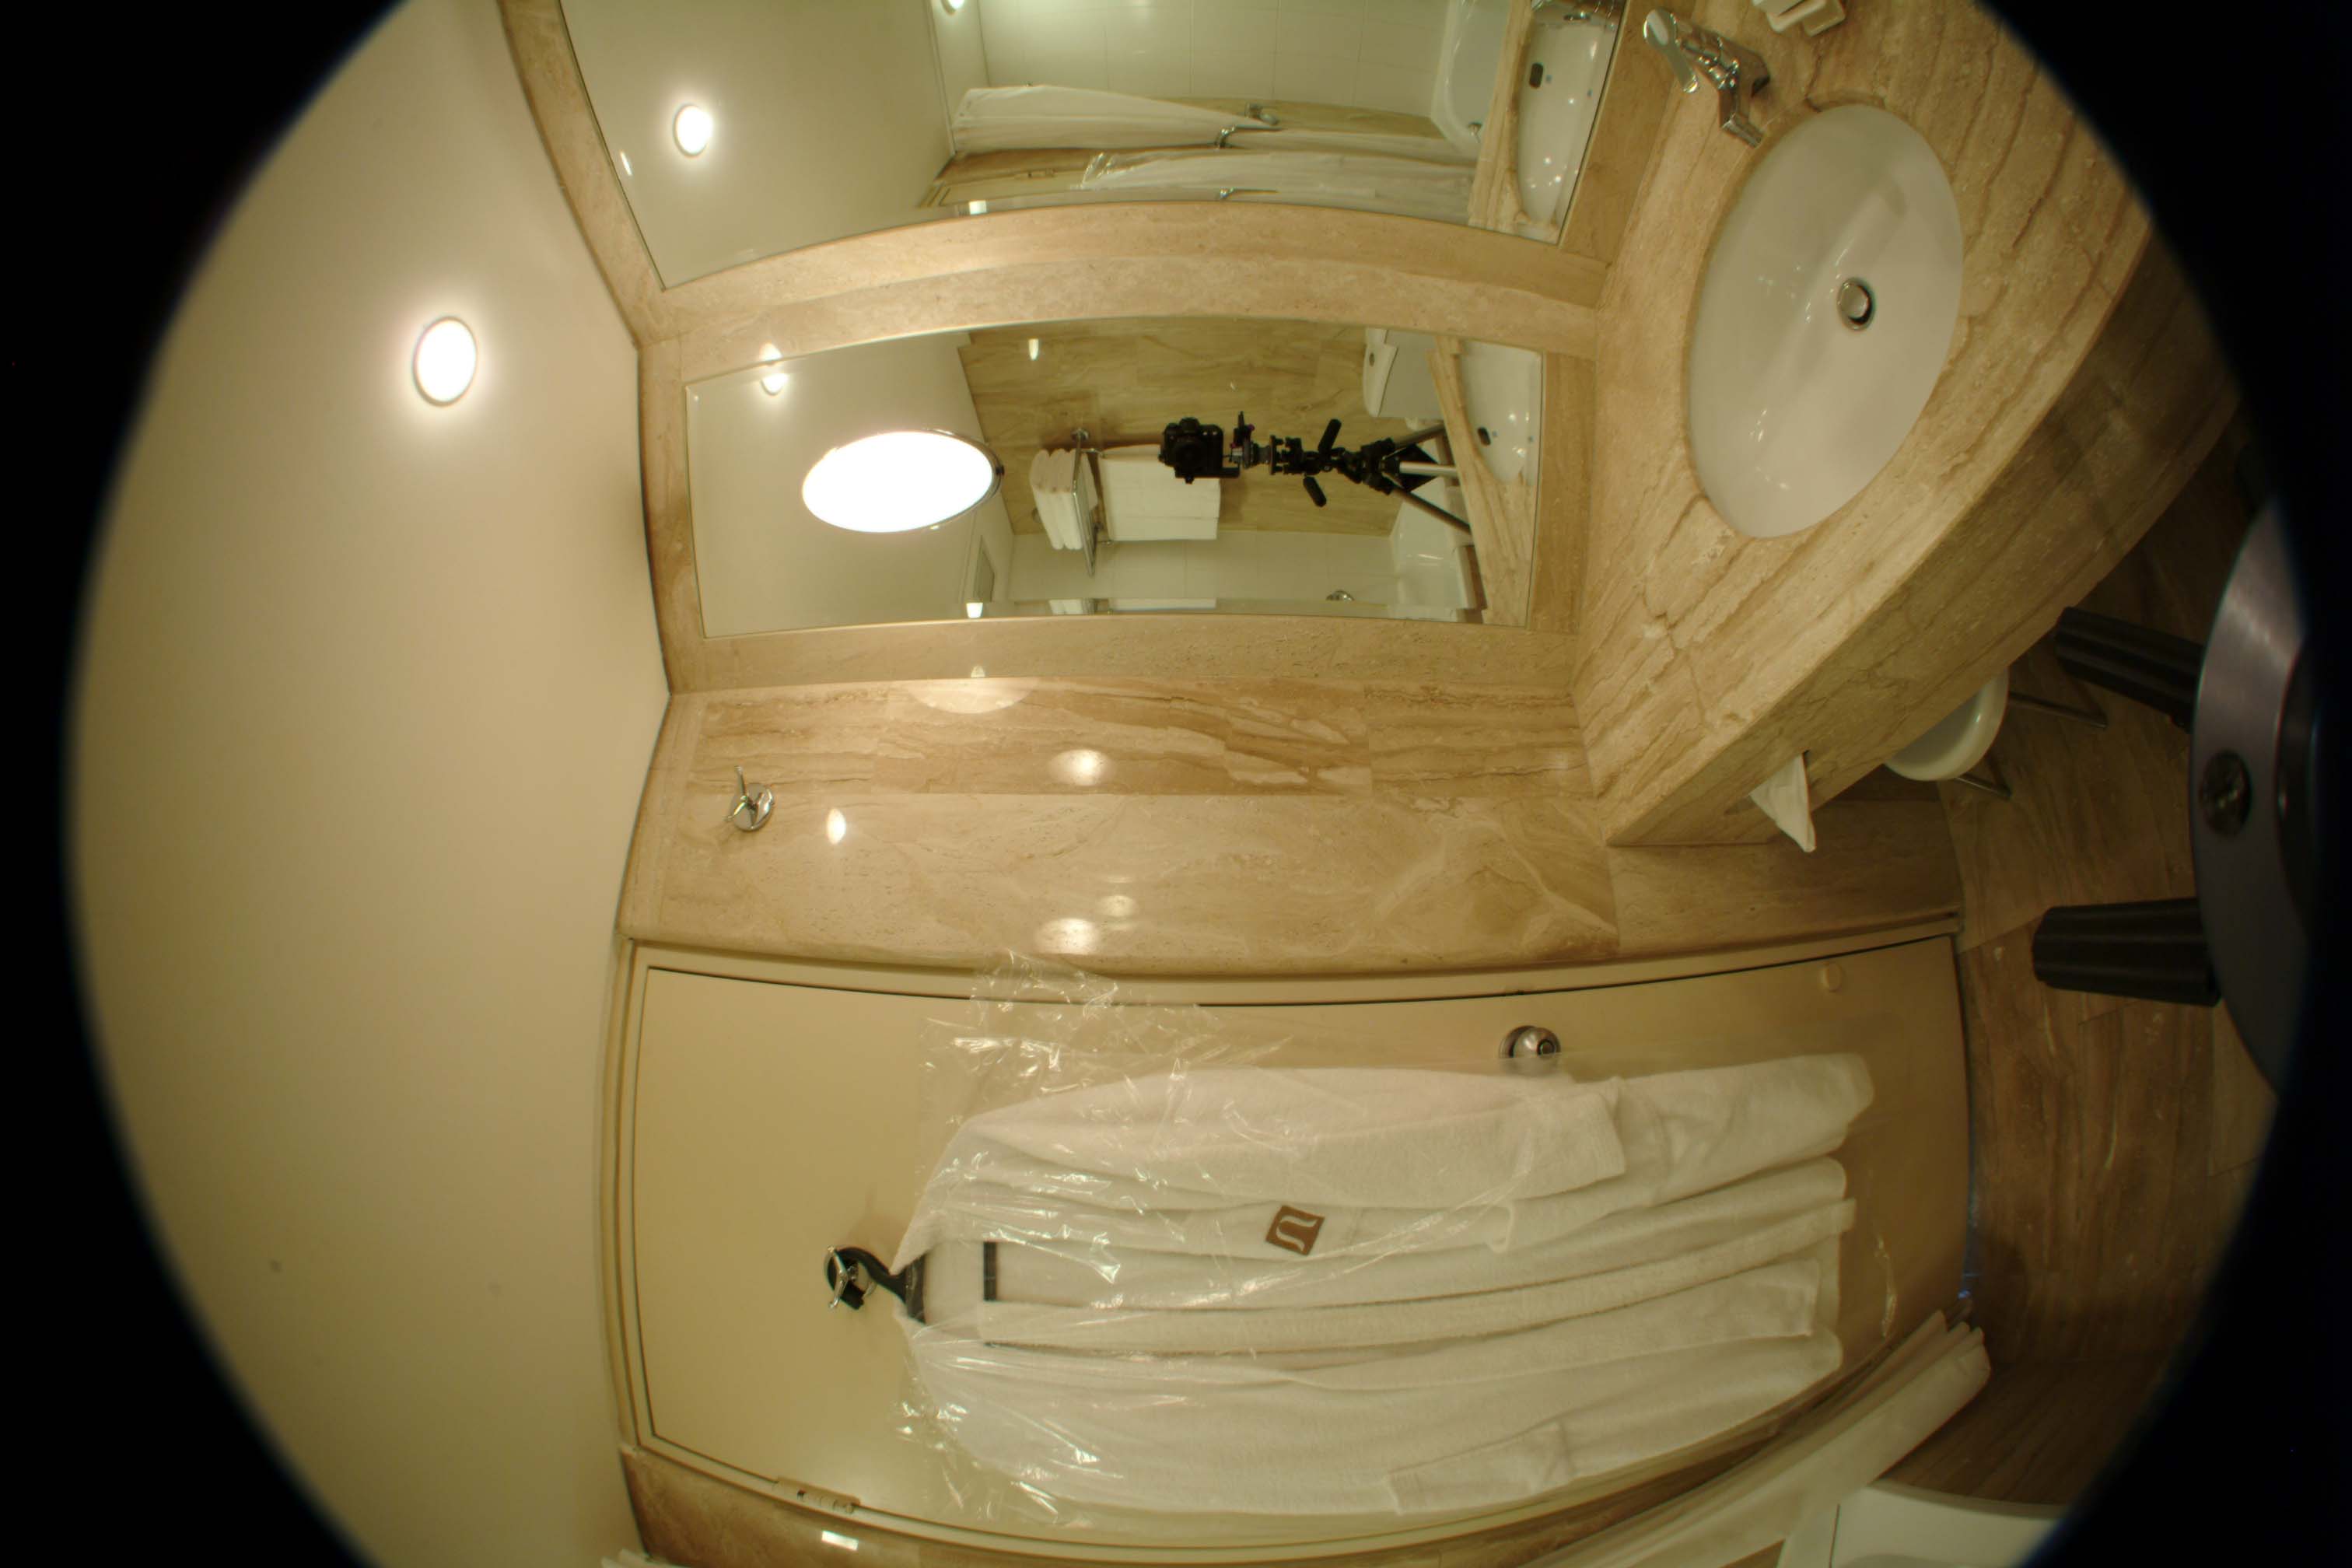
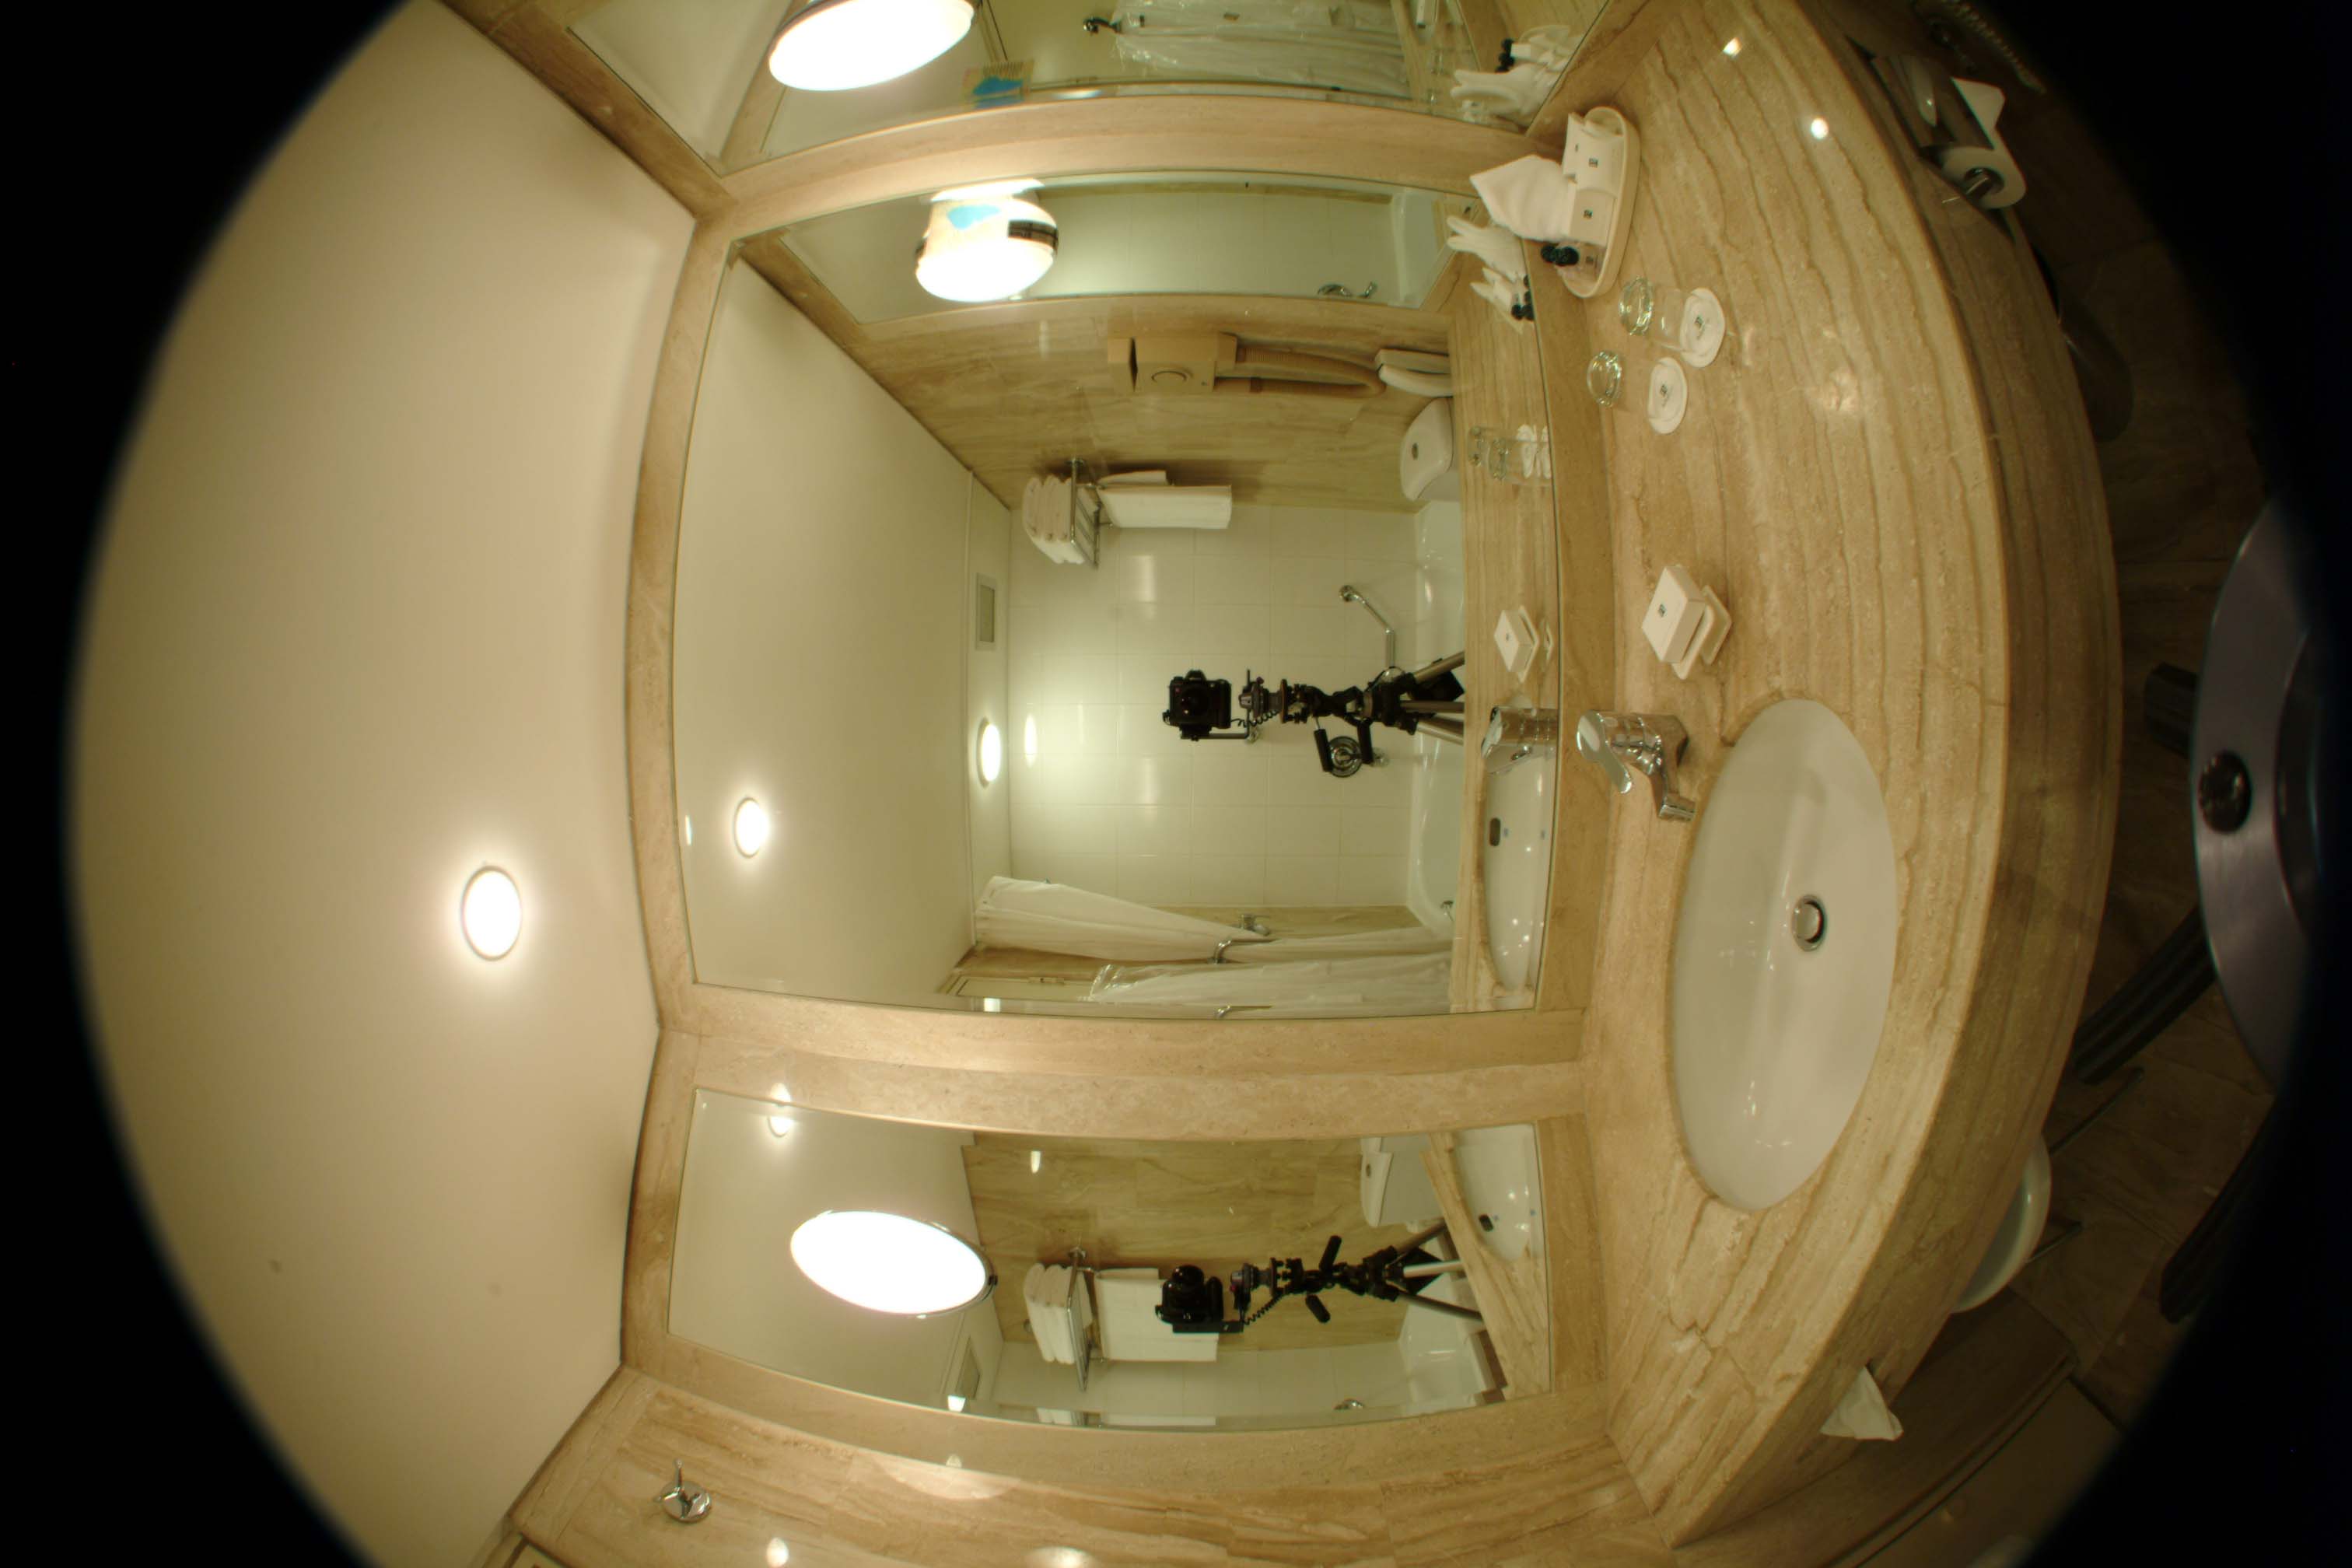
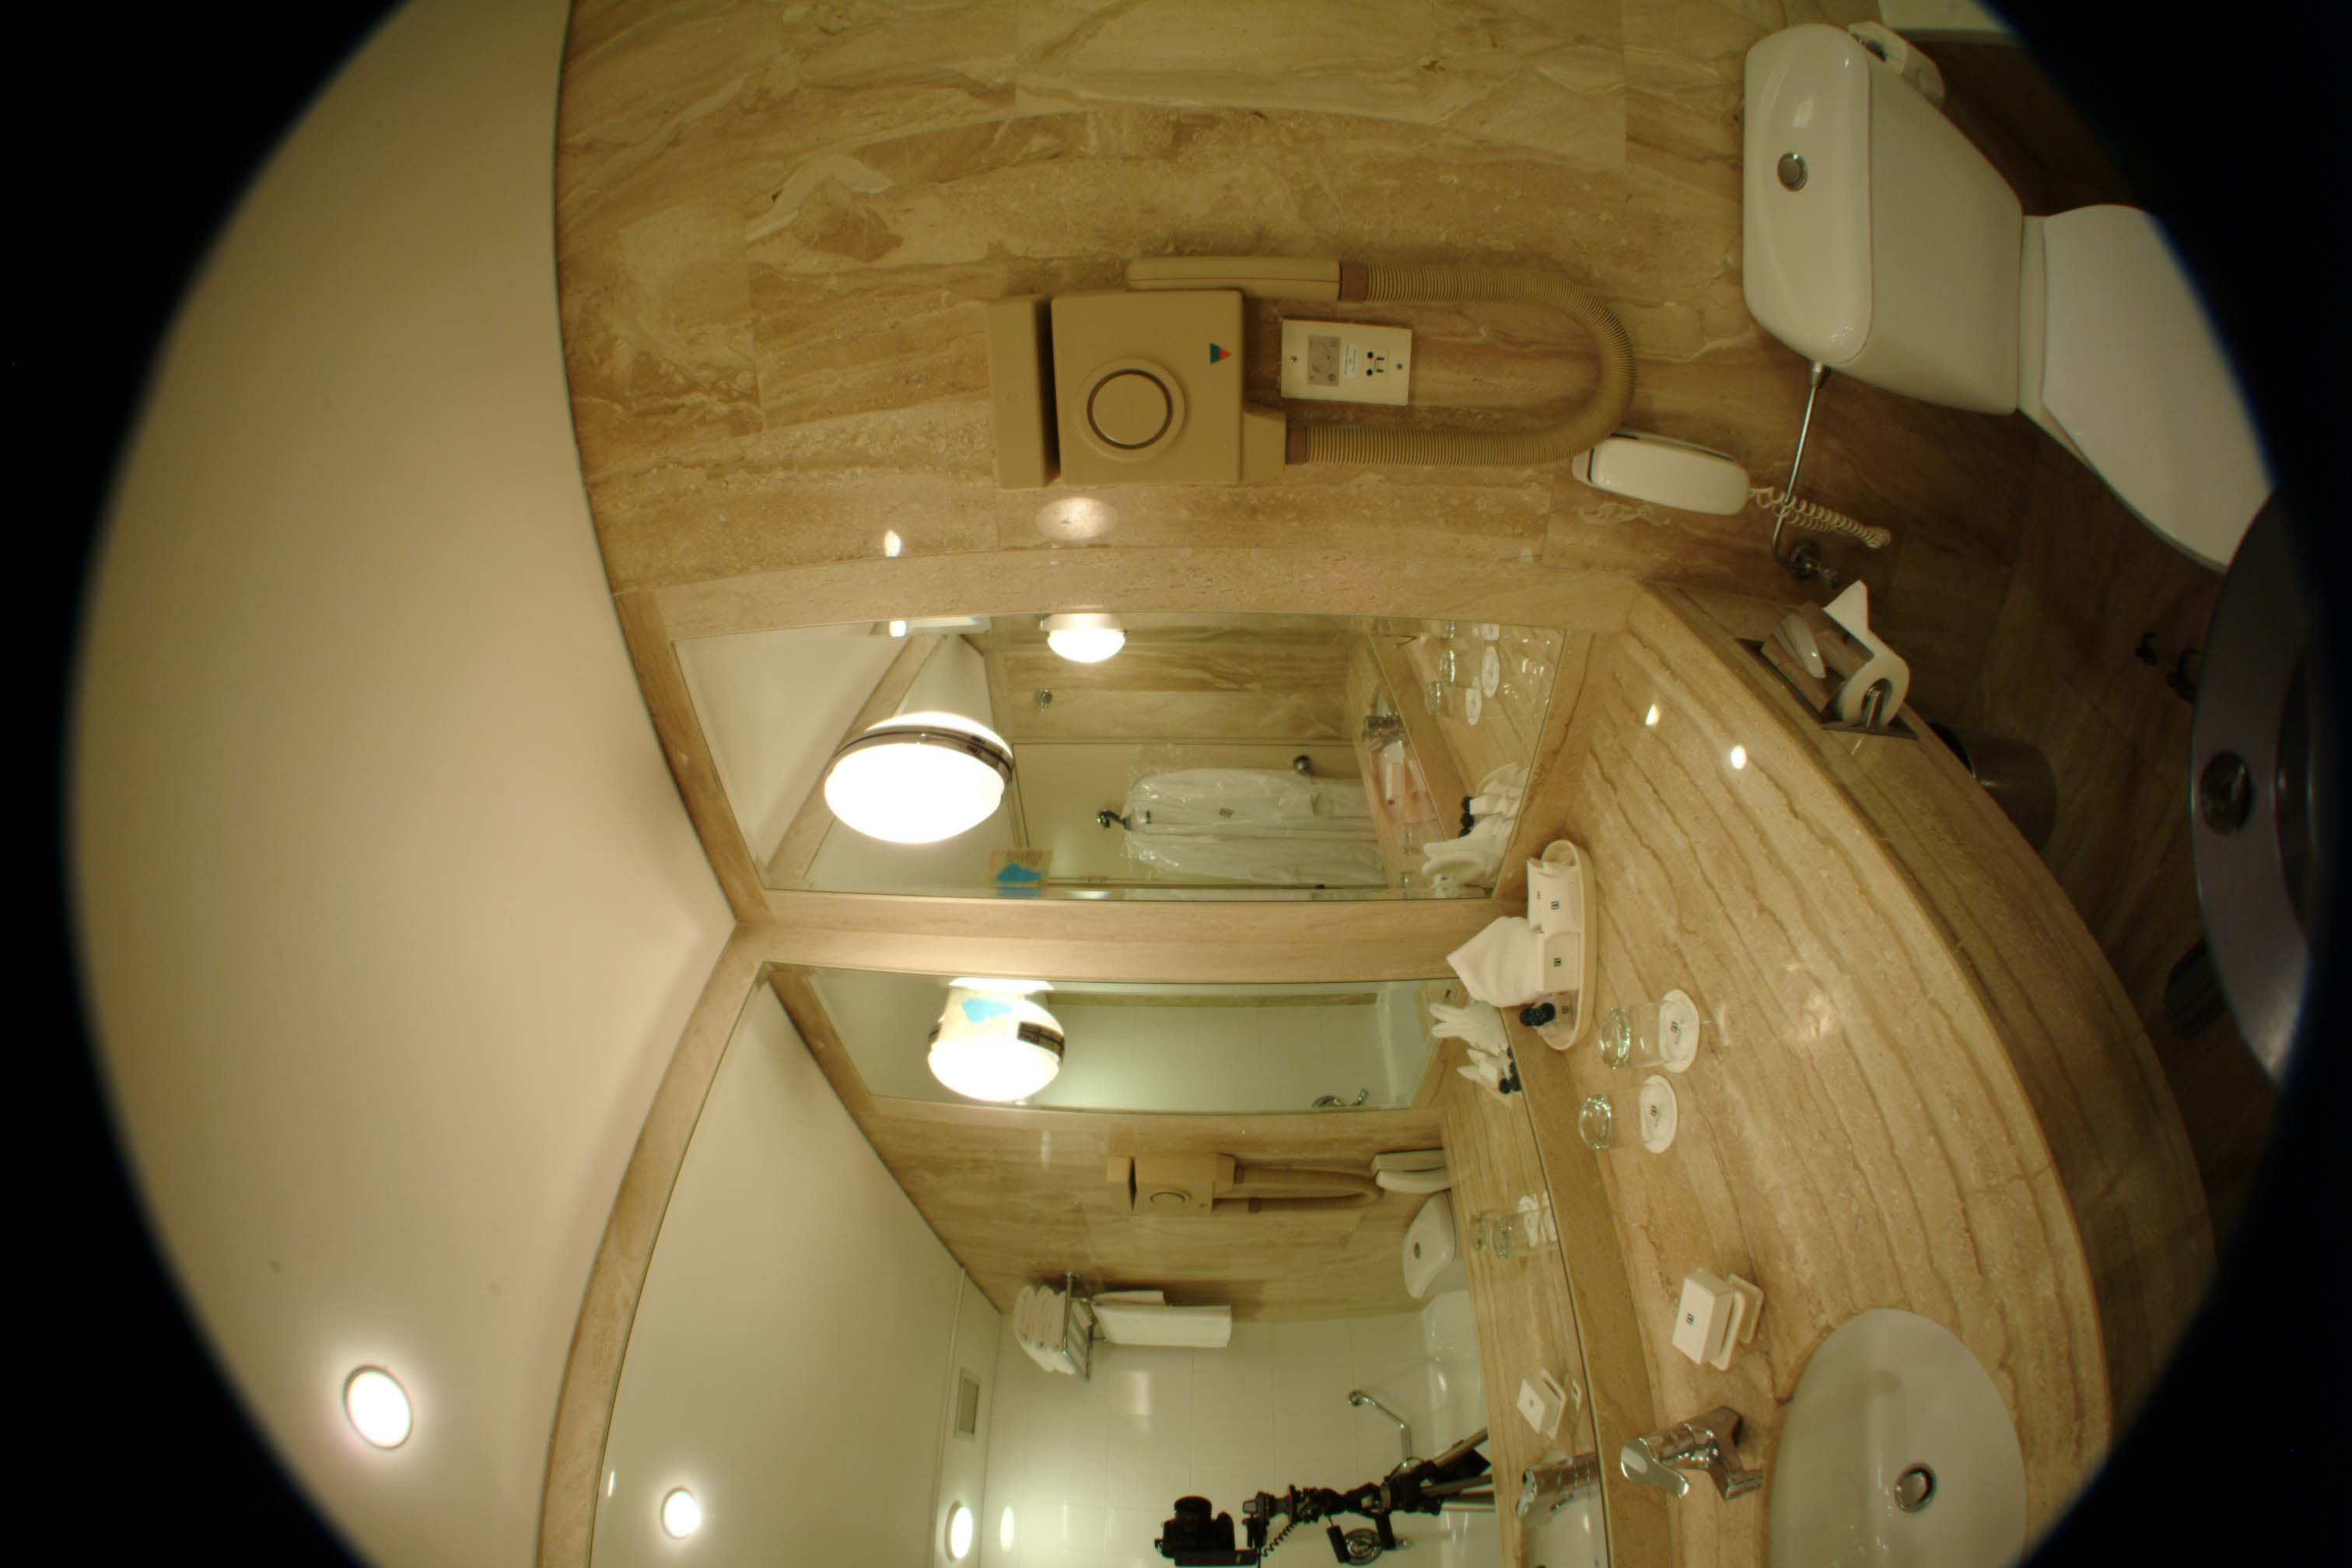
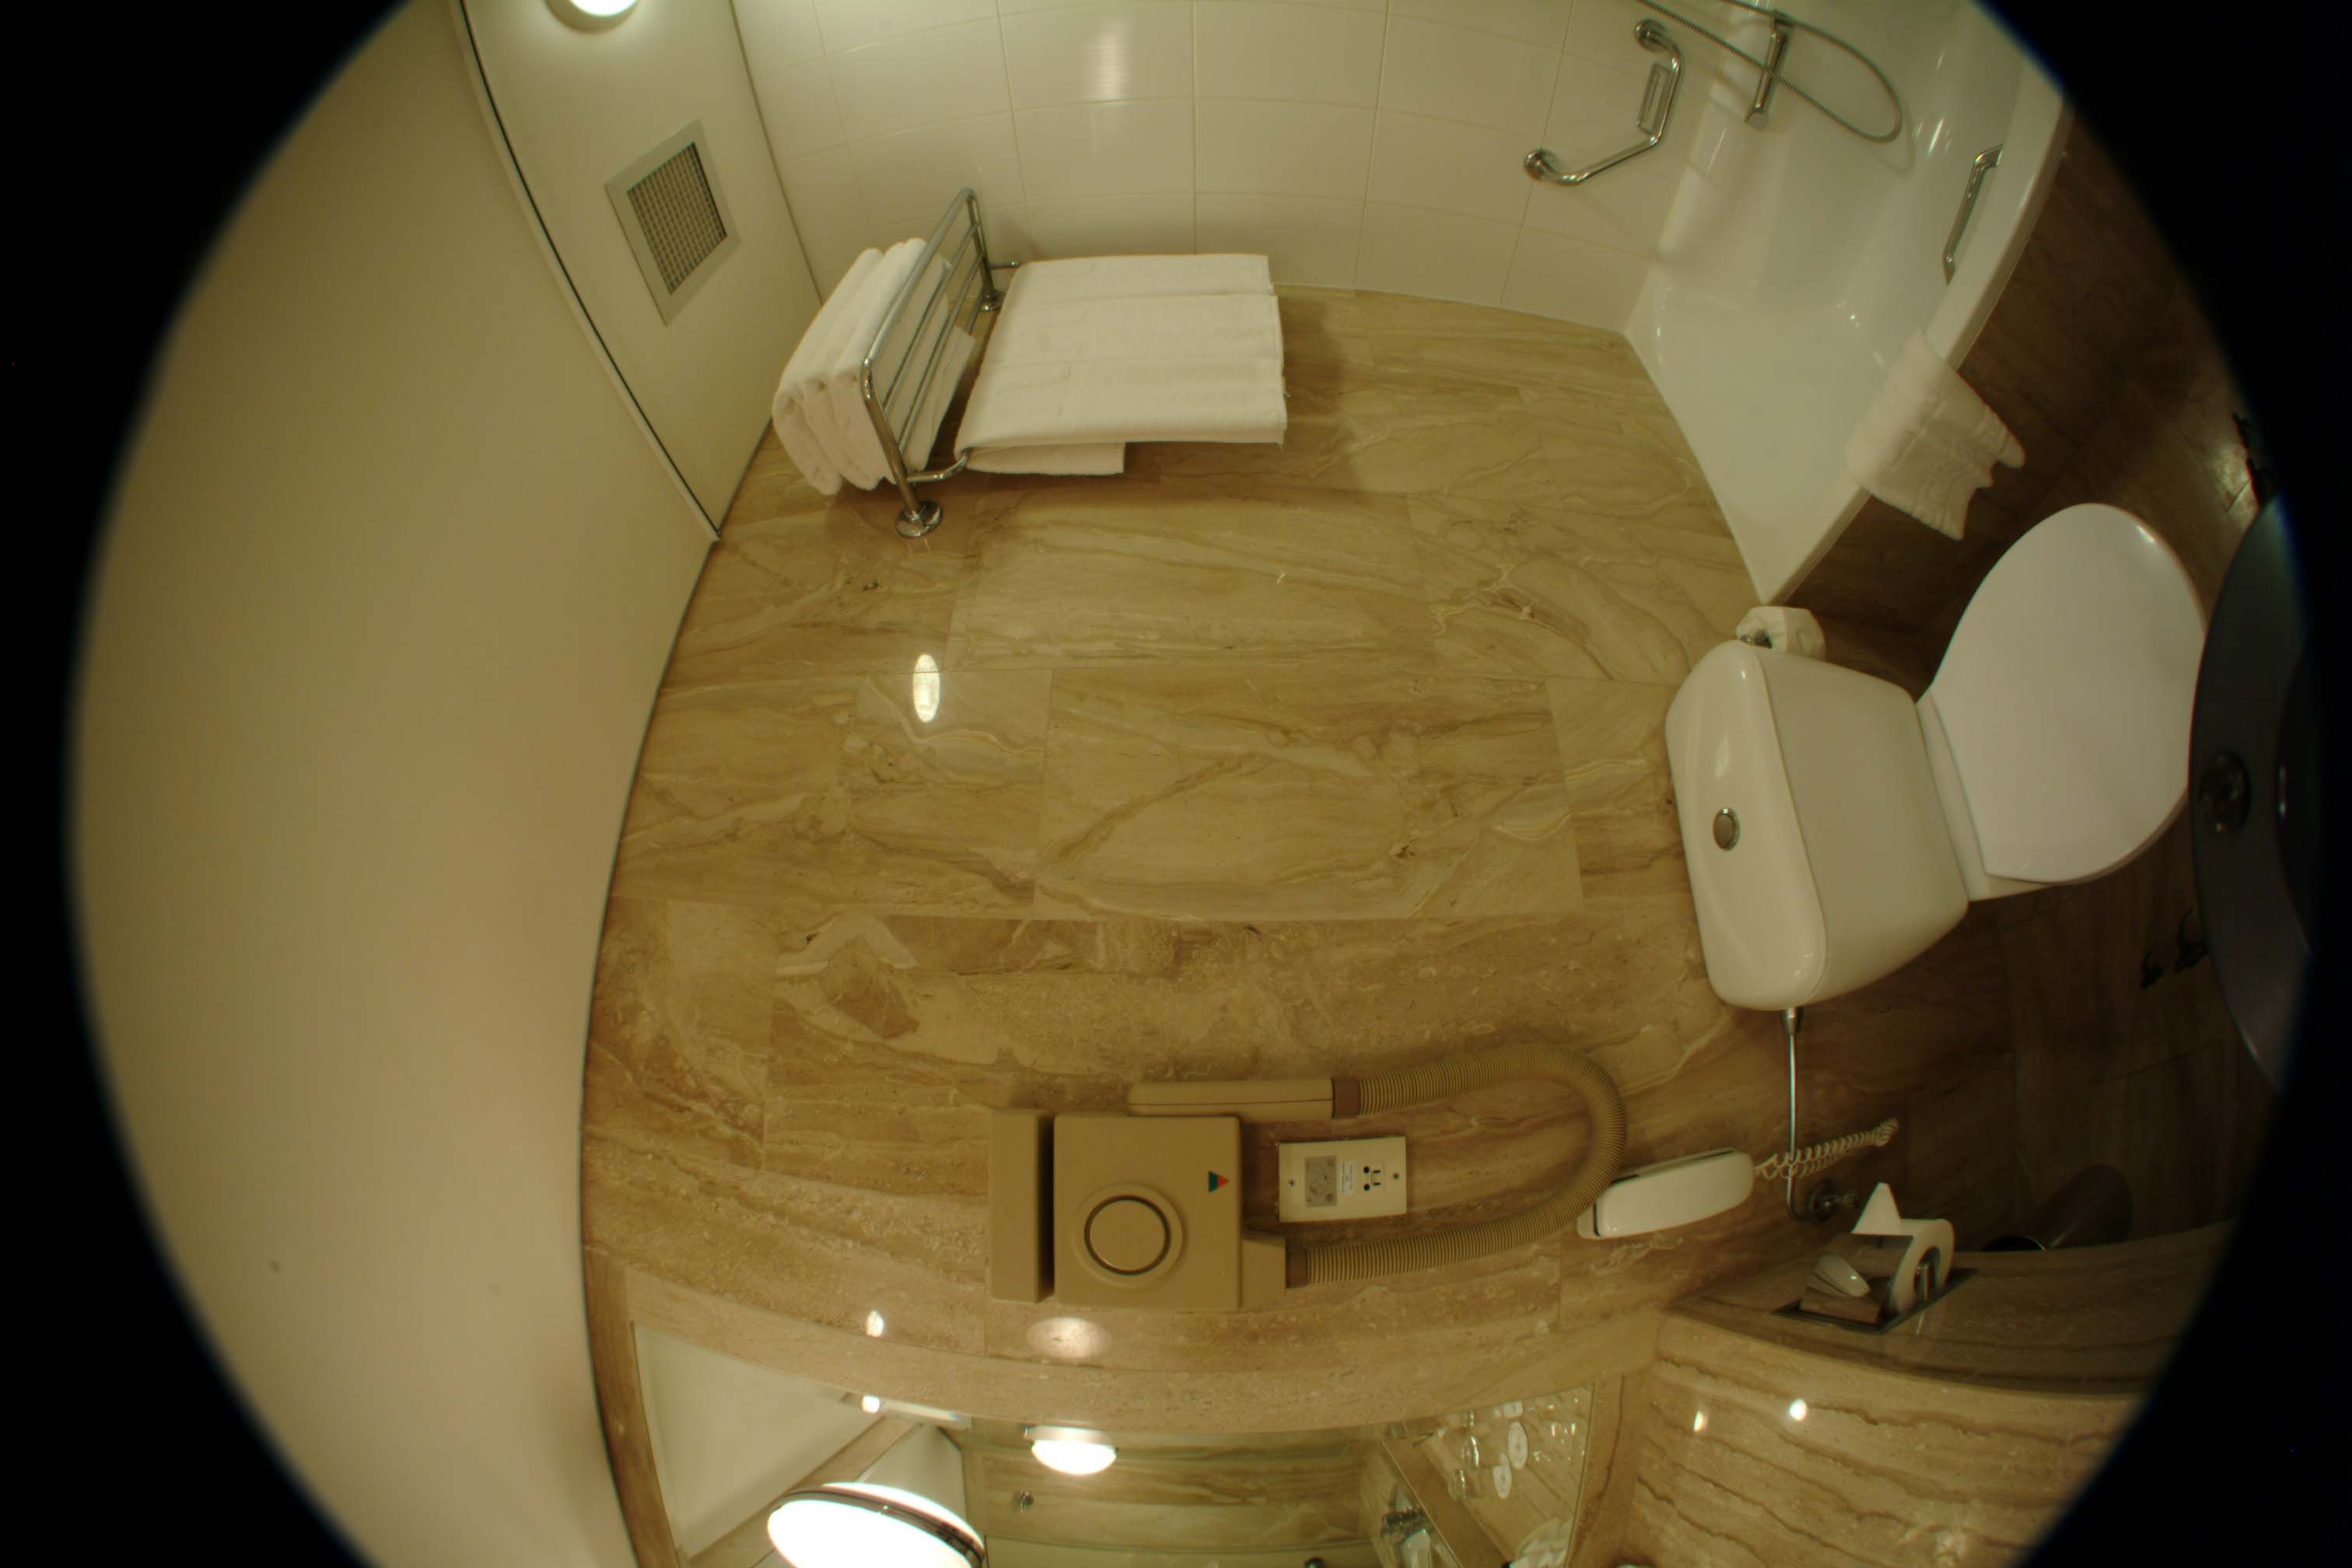
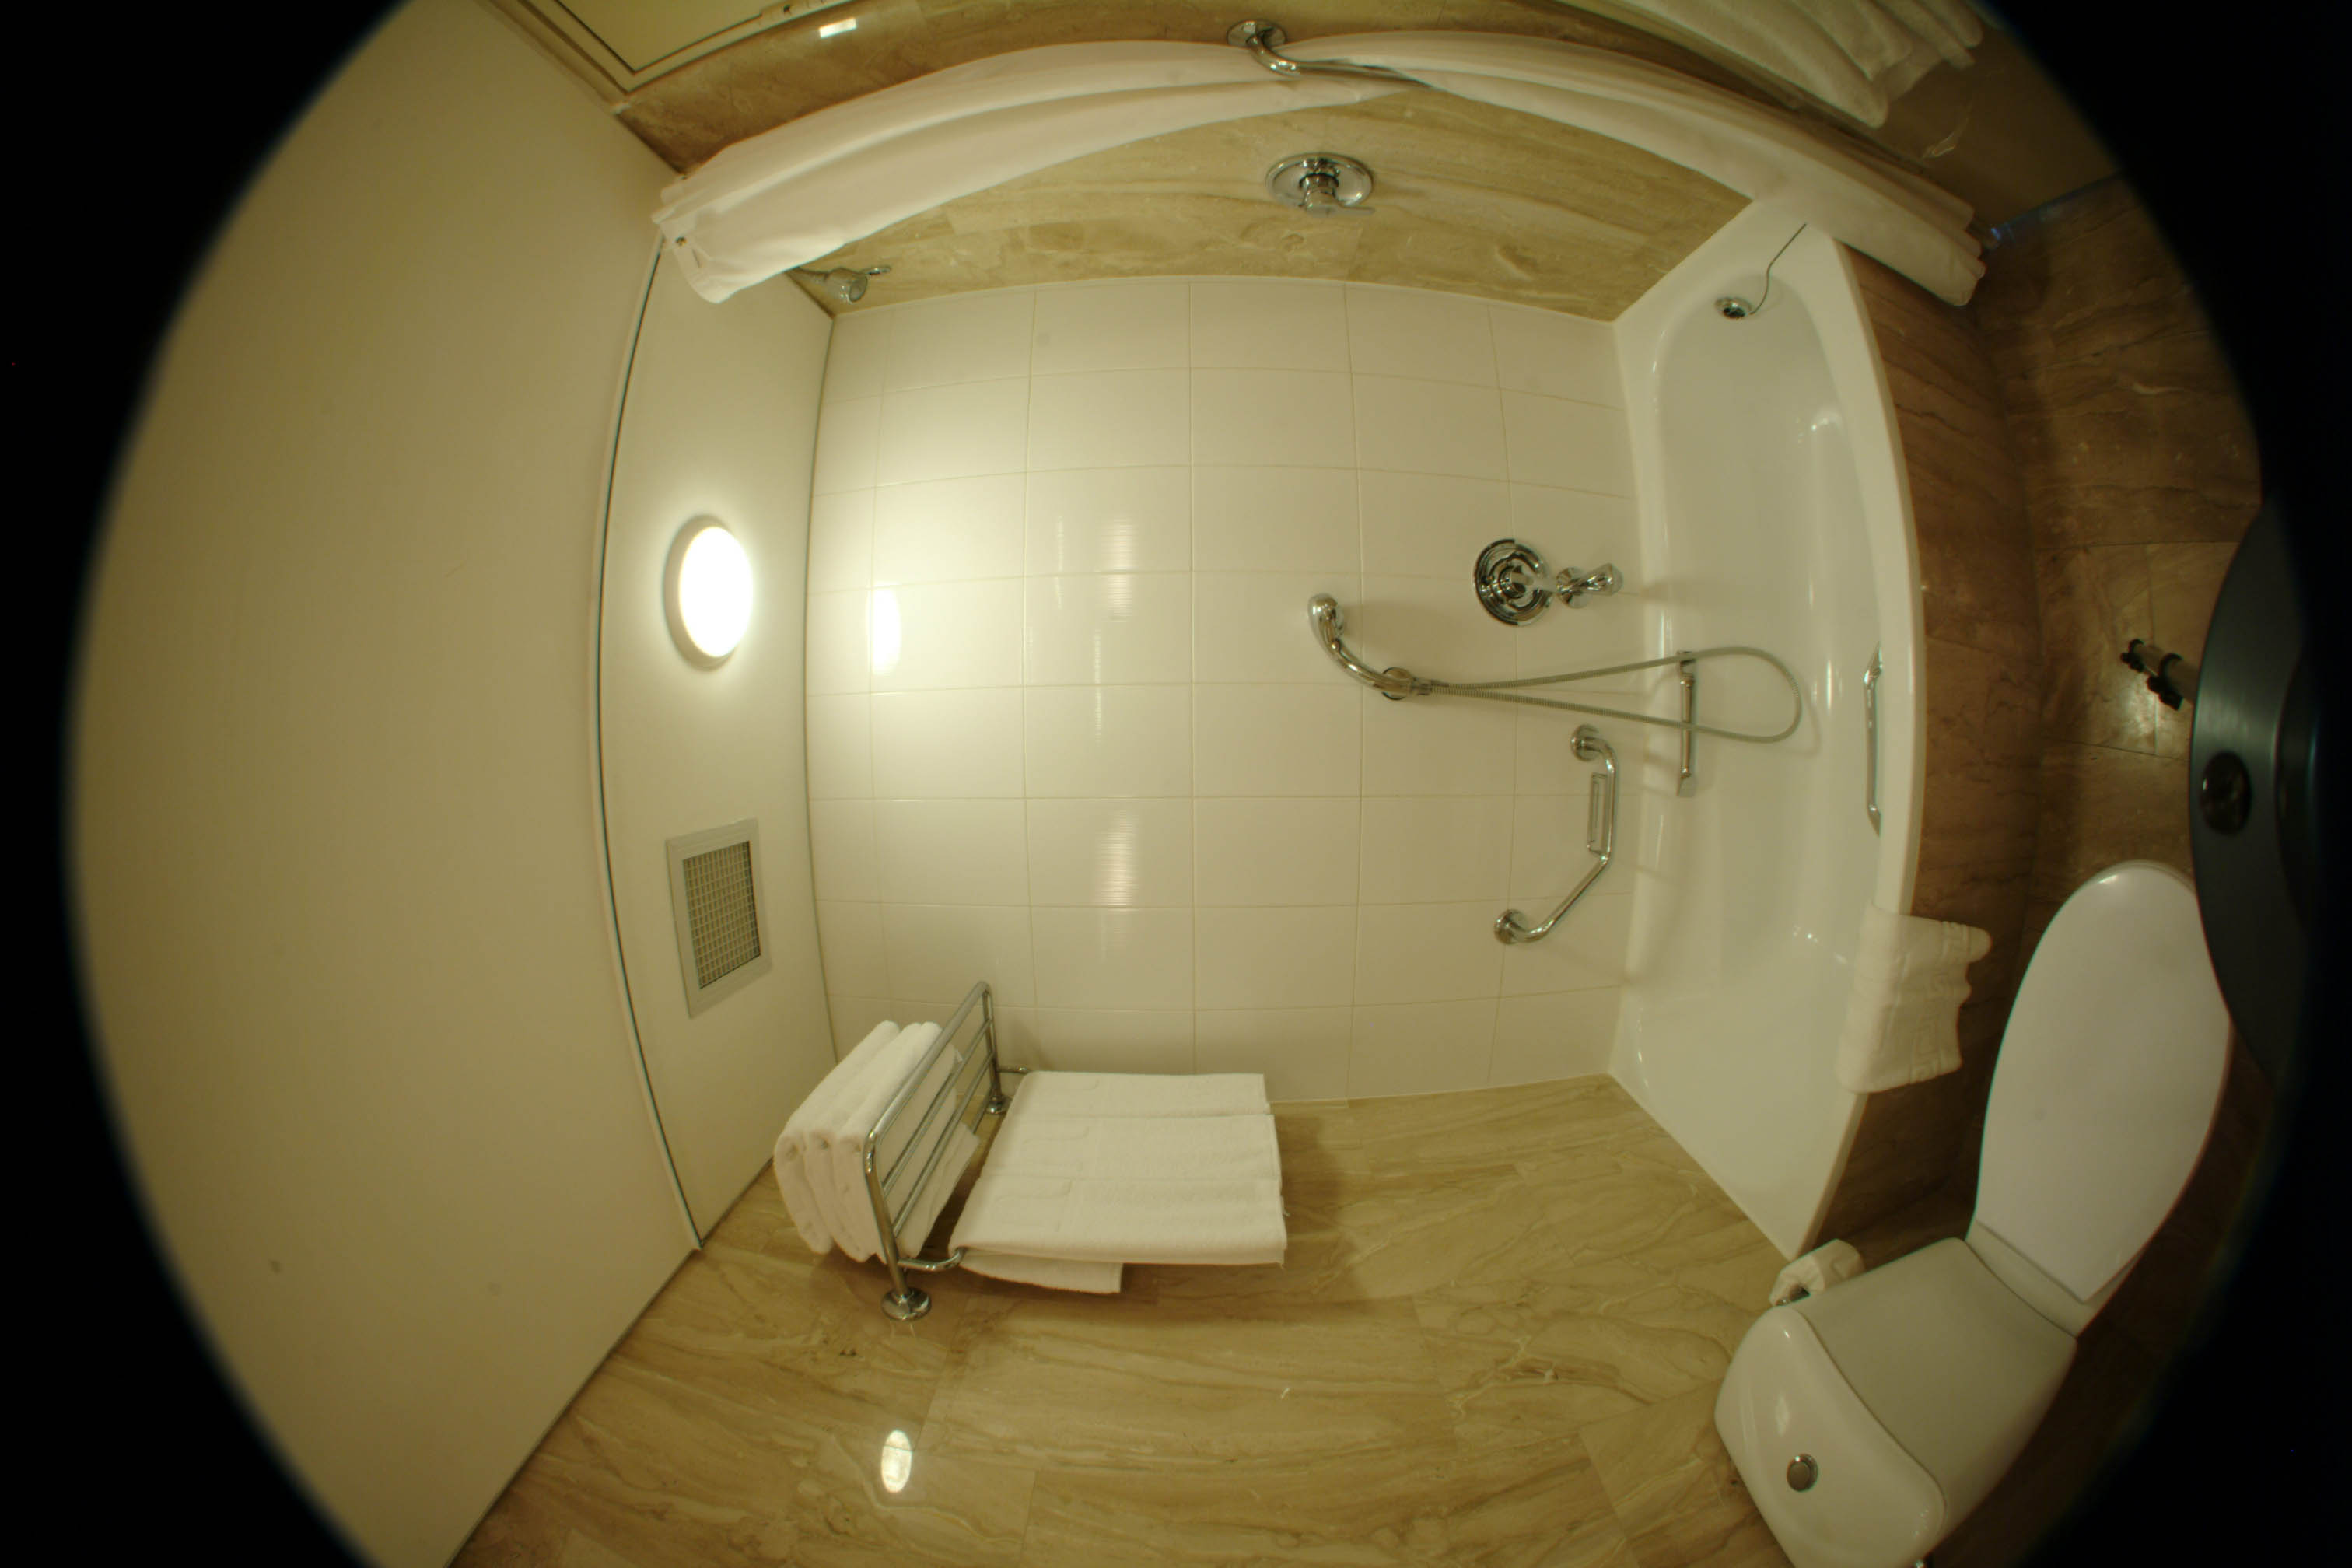
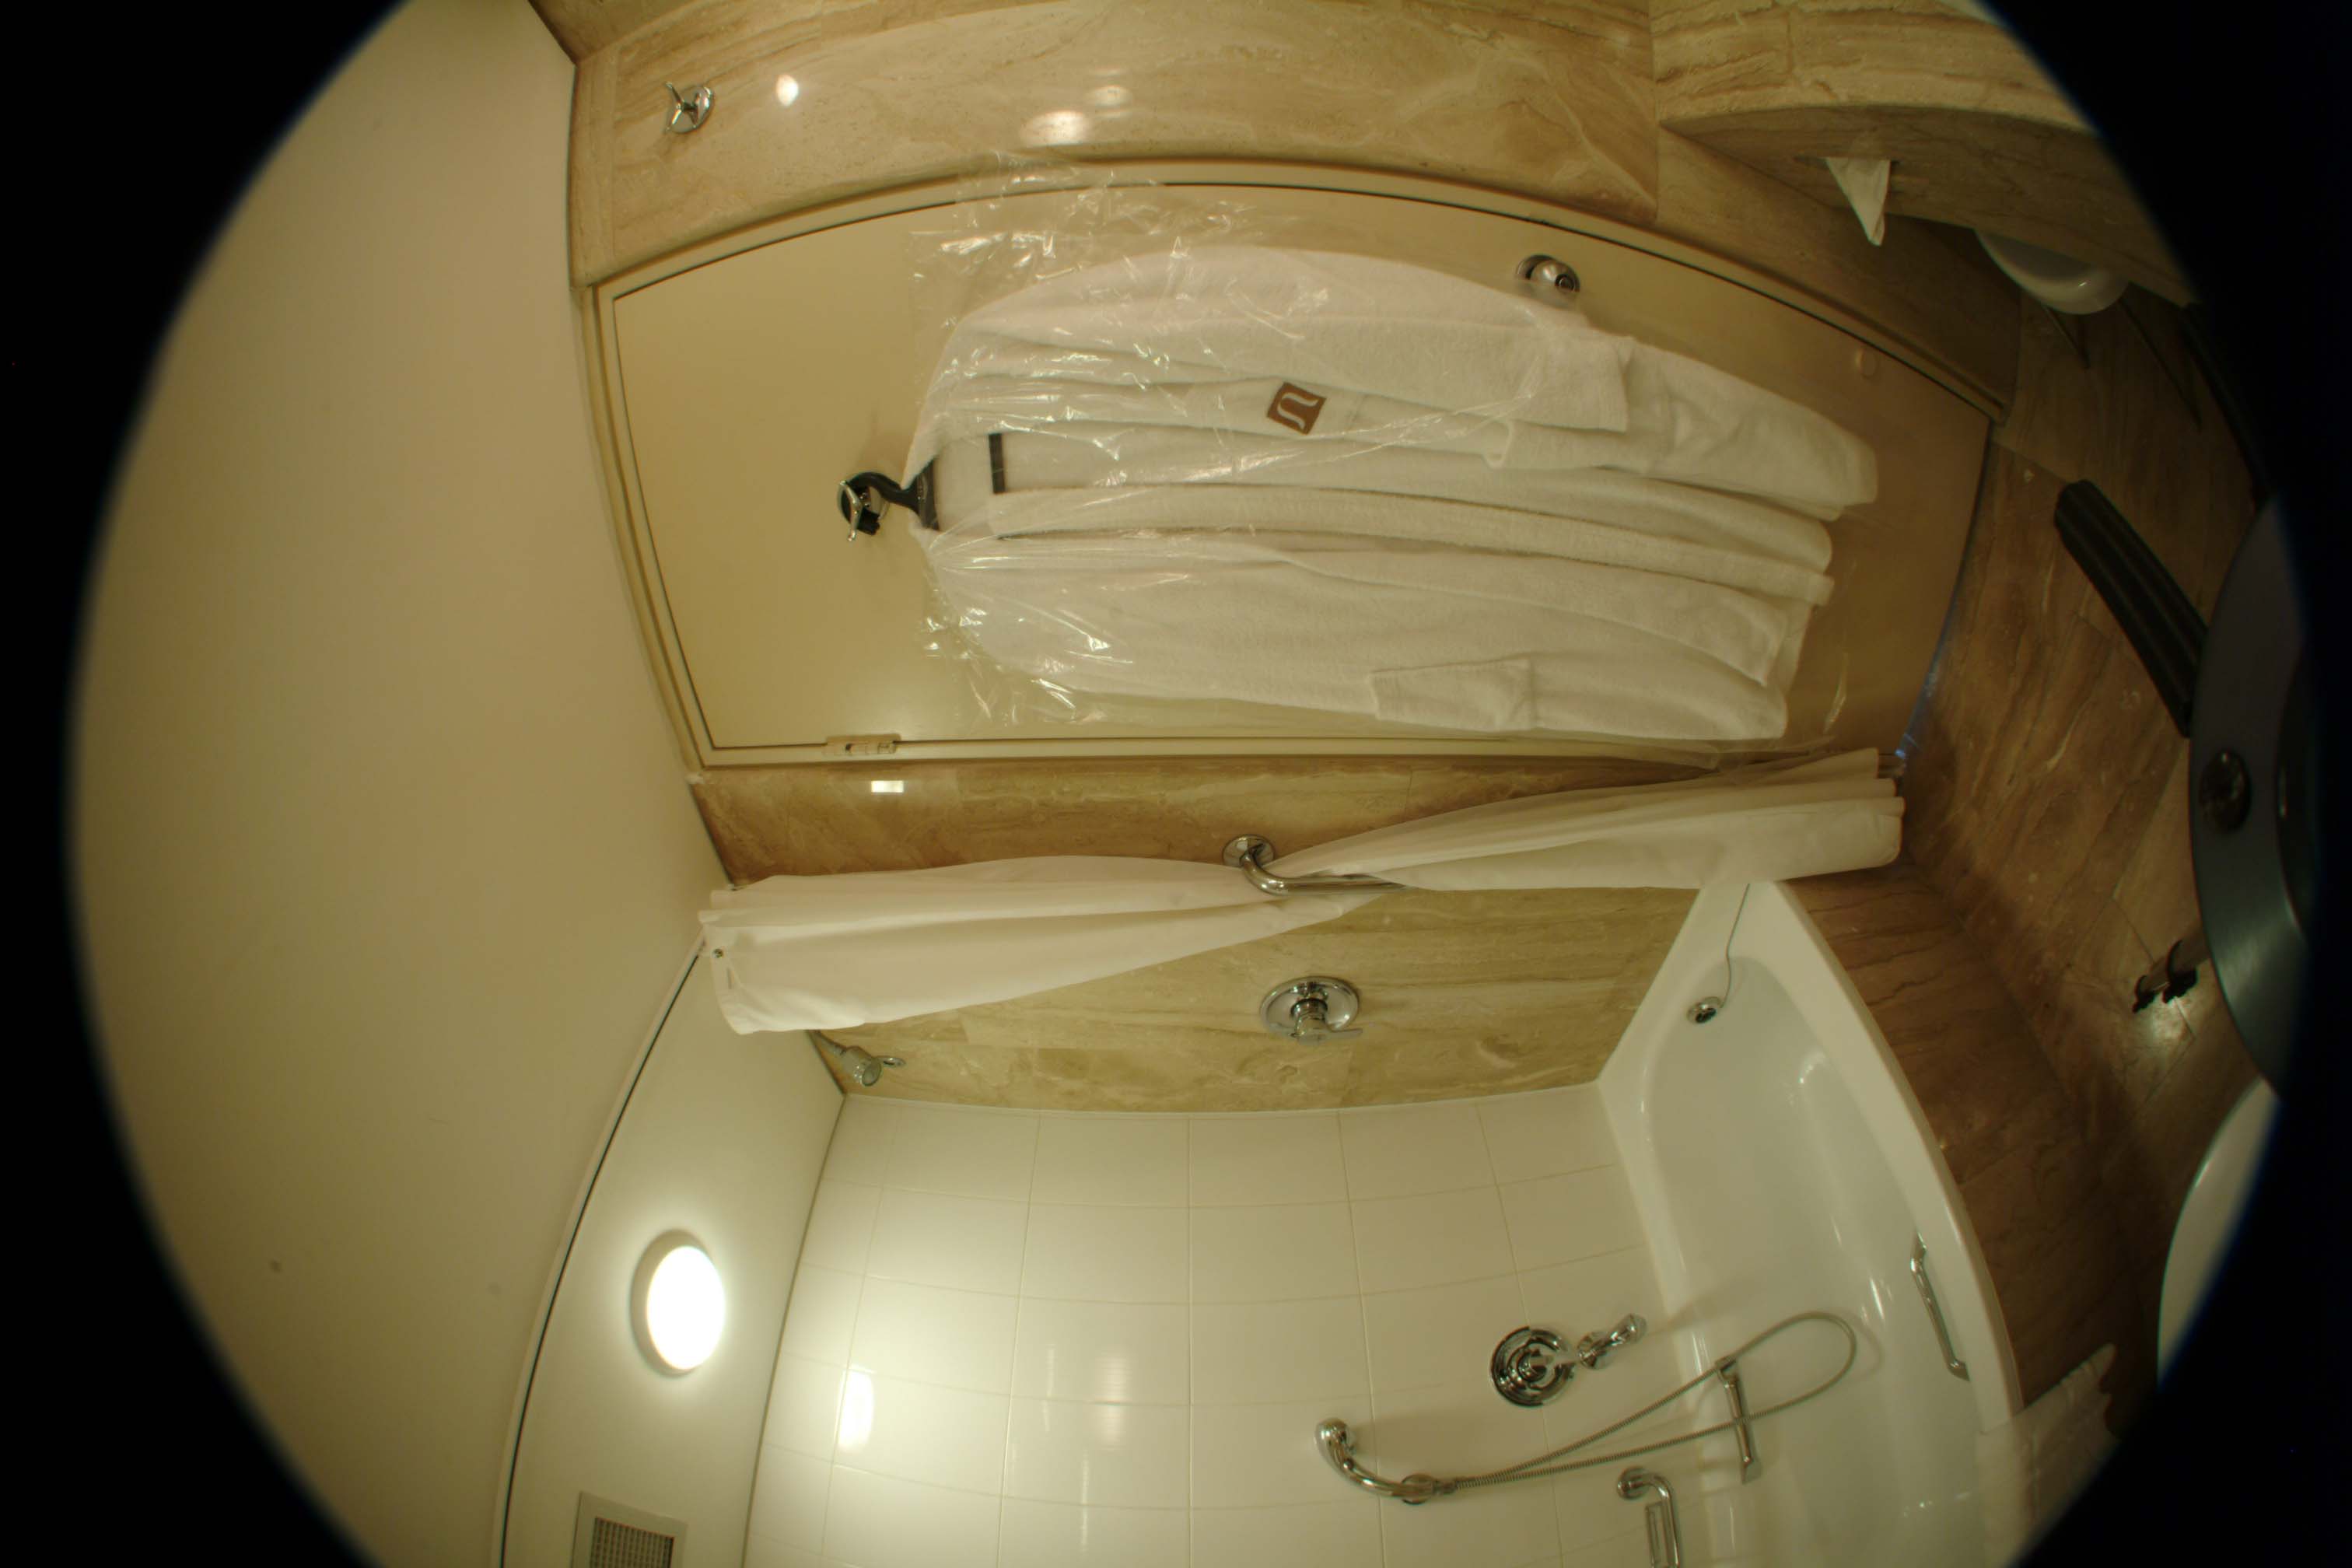
Raw Source Images
|
|
|
|
|
|
Preparation of the Source File
Whether the action is applied to the Source File
while open in photoshop
or
used to batch process other similar Source Files, the following happens:
The first time the action reaches this point,
you must manually enter in the appropriate PTools values.
After the first time, the action will apply the
Adjust filter automatically according to the last settings.In the Adjust Opions dialogue box, select "Insert" and "Use Options"
Click the [Set] button and adjust options to match this screenshot:
Click the [Correct] button and load one of the presets provided in the download package.
This will load settings into the Radial Shift and Radial Luminance fields.
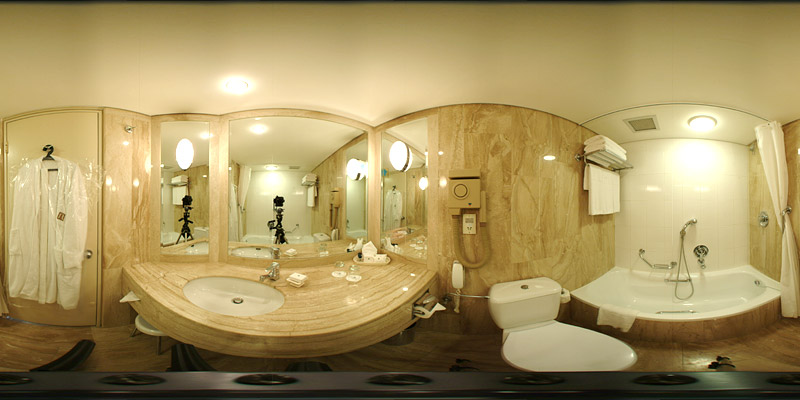
QTVR Before Retouching (668K) | QTVR After Retouching (986K)
Please write with questions, comments,
or any type of feedback, suggestions, analysis, appraisal, or criticism.
If anyone has figured out the exact offset and size of the Sigma 8mm image circle,
please pass it along.